这篇文章主要介绍了Nginx Session共享问题解决方案解析,文中通过示例代码介绍的非常详细,对大家的学习或者工作具有一定的参考学习价值,需要的朋友可以参考下
Nginx解决Session共享问题:
1.nginx或者haproxy做的负载均衡,用nginx做的负载均衡可以添加ip_hash这个配置;用haproxy做的负载均衡可以用balance source这个配置,从而使用一个IP的请求发到同一个服务器;
2.利用数据库同步session;
3.利用cookie同步session数据,但是安全性差,http请求都需要带参增加了带宽消耗;
4.Tomcat配置session共享;
5利用session集群存放Redis;
1:创建一个工程,启动两个Tomcat


2:编写一个servlet测试
package com.zn.servlet; import javax.servlet.ServletException; import javax.servlet.annotation.WebServlet; import javax.servlet.http.HttpServlet; import javax.servlet.http.HttpServletRequest; import javax.servlet.http.HttpServletResponse; import java.io.IOException; @WebServlet("/nginxSessionServlet") public class SessionIPServlet extends HttpServlet { protected void doPost(HttpServletRequest request, HttpServletResponse response) throws ServletException, IOException { System.out.println("当前请求端口:"+request.getLocalPort()); String action=request.getParameter("action"); //向Session中存放一个数据 if(action.equals("setSession")){ request.getSession().setAttribute("username","zhangsan"); }else if(action.equals("getSession")){ response.getWriter().write((String)request.getSession().getAttribute("username")); } } protected void doGet(HttpServletRequest request, HttpServletResponse response) throws ServletException, IOException { doPost(request,response); } }
3、没有Nginx的访问效果展示
分别访问8080和8081


4.配置nginx.conf文件
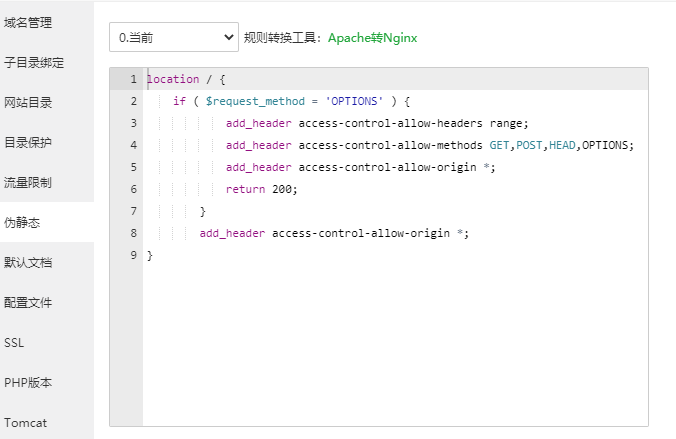
upstream myserver{ ip_hash; server 127.0.0.1:8080; server 127.0.0.1:8081; } server{ listen 81; server_name www.bproject.com; location / { root html; proxy_pass http://myserver; index index.html index.htm; } }
5.再次访问


方法二、利用spring-session+Redis实现session共享
1:导入依赖
<!--spring boot 与redis应用基本环境配置 --> <!-- https://mvnrepository.com/artifact/org.springframework.boot/spring-boot-starter-redis --> <dependency> <groupId>org.springframework.boot</groupId> <artifactId>spring-boot-starter-redis</artifactId> </dependency> <!--spring session 与redis应用基本环境配置,需要开启redis后才可以使用,不然启动Spring boot会报错 --> <dependency> <groupId>org.springframework.session</groupId> <artifactId>spring-session-data-redis</artifactId> </dependency>
2:创建controller测试
@RestController public class SessionController { @RequestMapping("/setSession") public String setSession(HttpServletResponse response, HttpServletRequest request) throws IOException { request.getSession().setAttribute("username","wang"); return "success"; } @RequestMapping("/getSession") public String getSession(HttpServletRequest request,HttpServletResponse response){ String username = (String) request.getSession().getAttribute("username"); return username; } }
3:application.properties文件
server.port=8082 #server.port=8083 #redis配置 spring.redis.password: wang2003
4:启动项目测试


结论:该方案配置简单,数据安全且稳定,效率高,被普遍使用;
注意:在Redis中删除这个数据包,8082和8083端口都get不到session了,说明了session没有存在在JVM中,而是转存在Redis中;
以上就是本文的全部内容,希望对大家的学习有所帮助,也希望大家多多支Fatmouse


暂无评论内容